Notifications#
Control which events email you, and optionally forward those events to your own systems via webhook. Manage everything under Settings → Notifications.
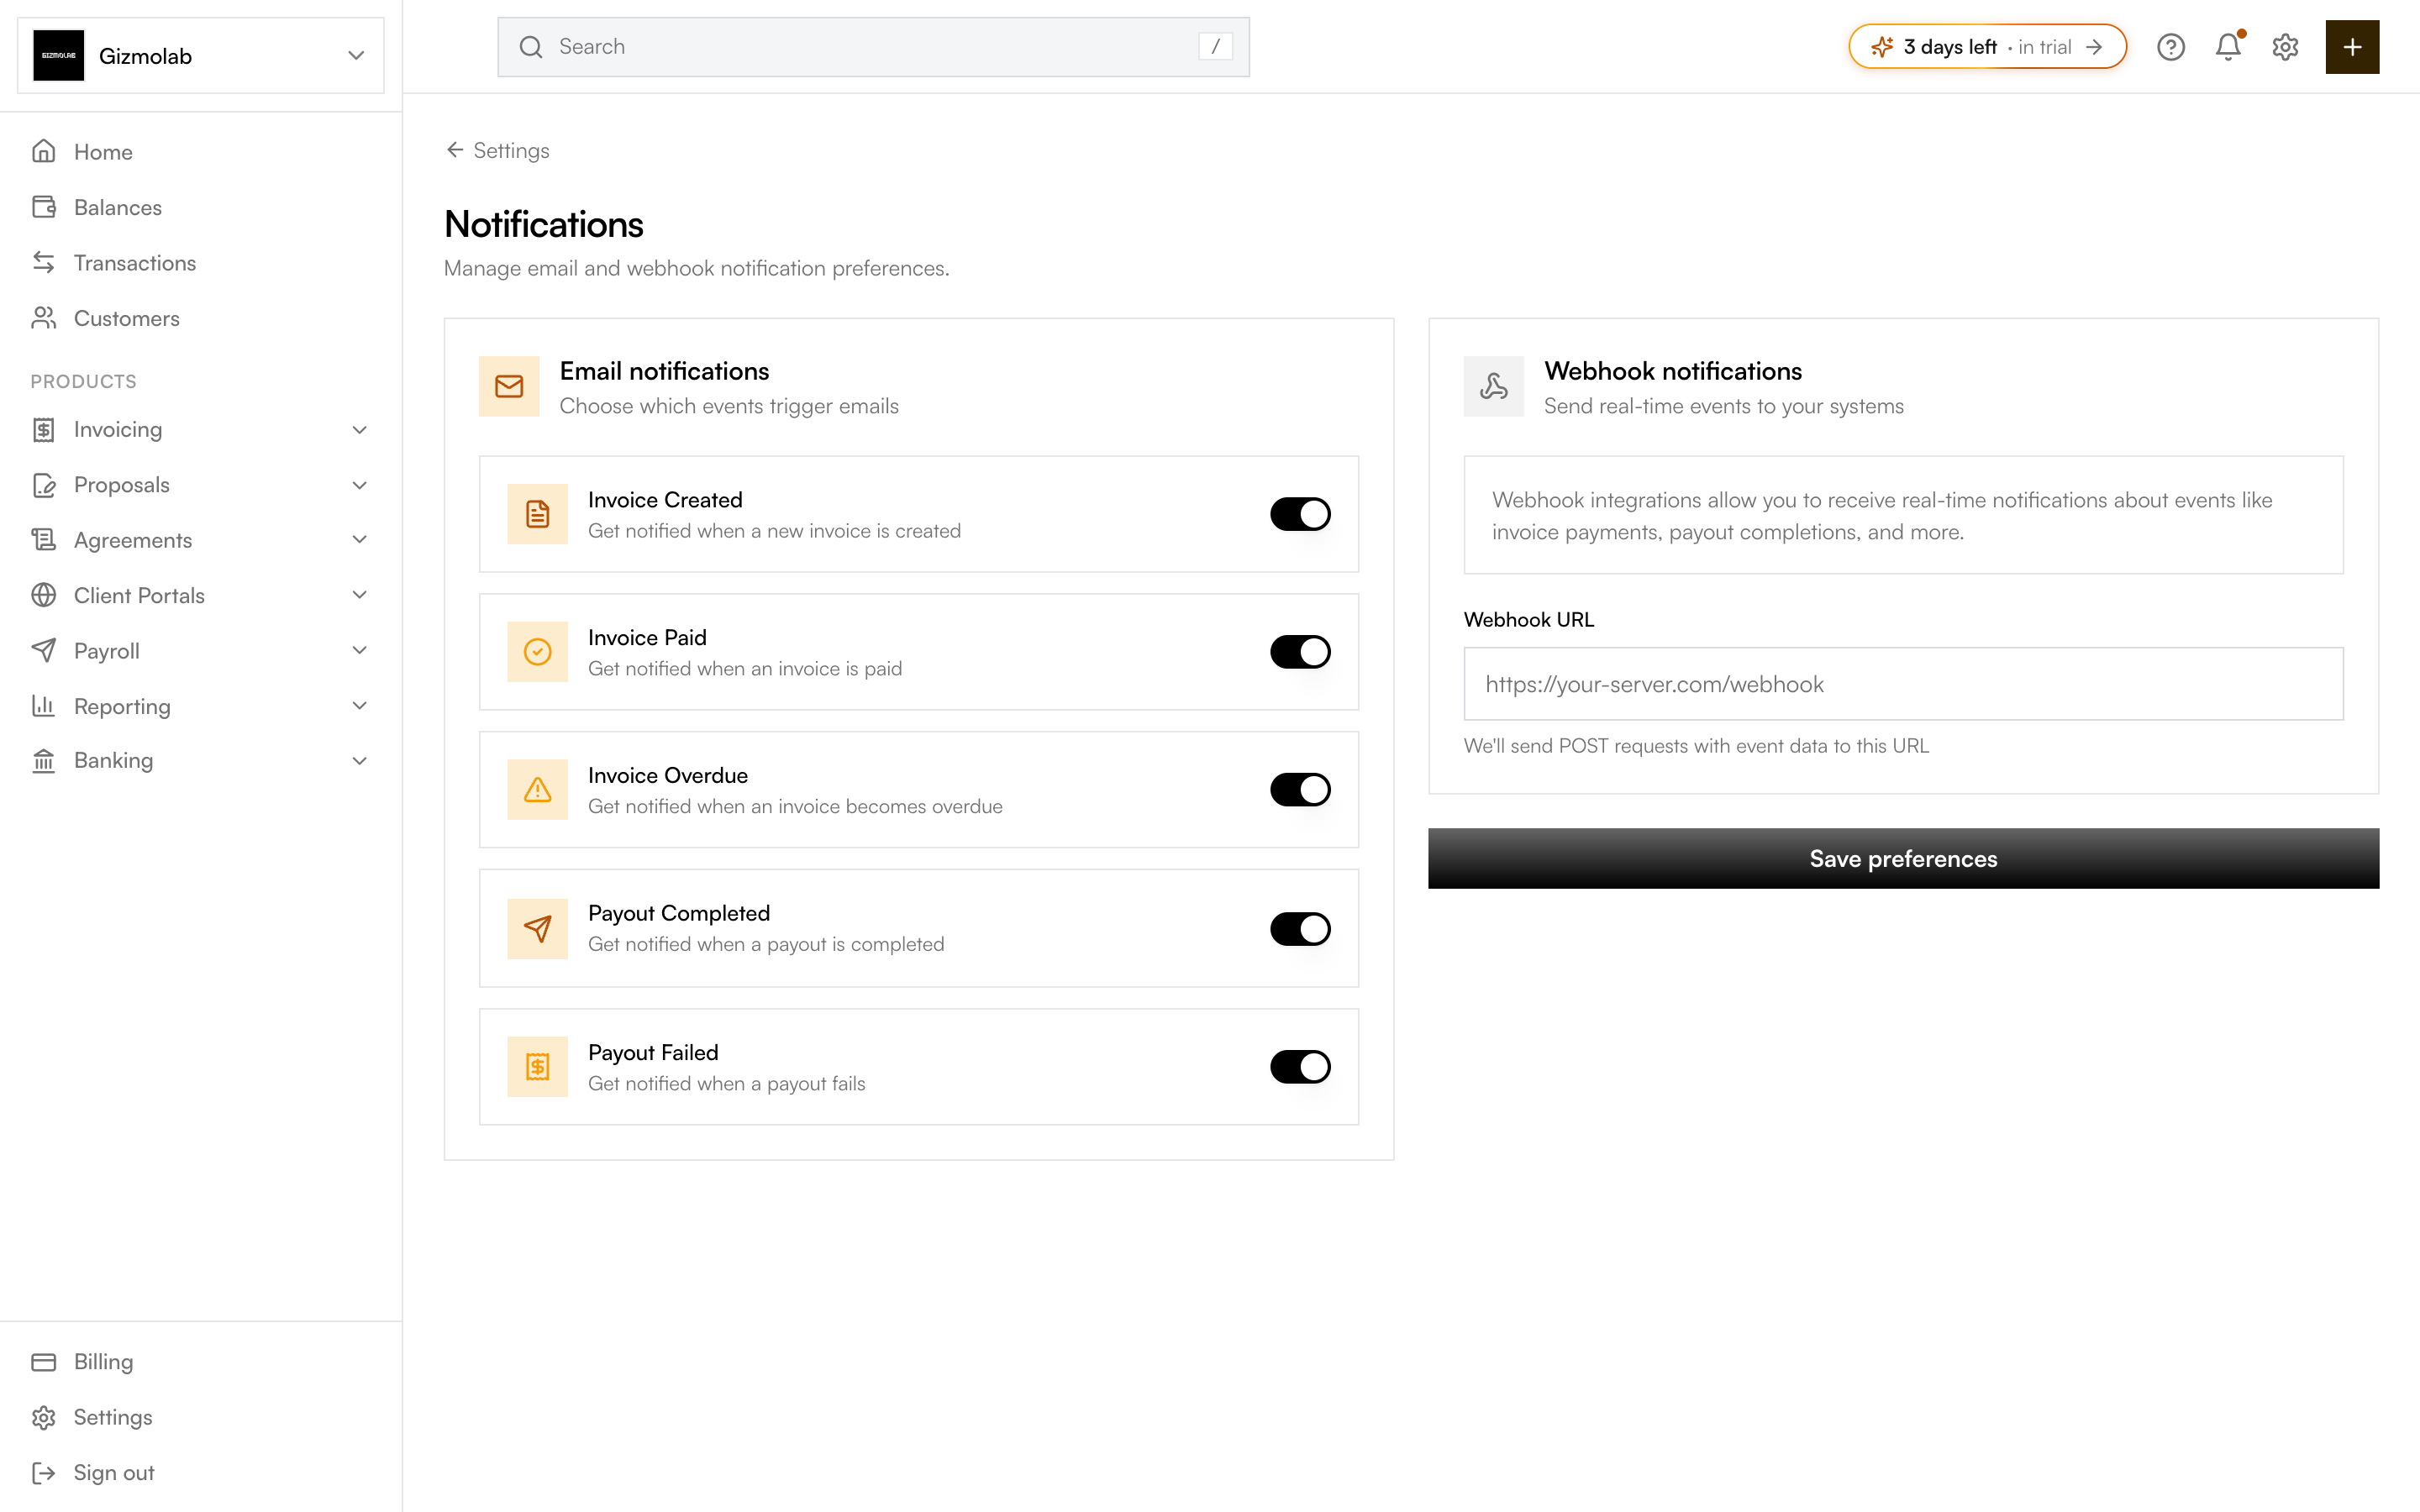
- 1Email notification events
- 2Toggle each event on or off
- 3Webhook notifications
- 4Your webhook endpoint URL
- 5Save your preferences
Email notifications#
Toggle which events trigger an email:
- Invoice Created — A new invoice is created.
- Invoice Paid — An invoice is paid.
- Invoice Overdue — An invoice becomes overdue.
- Payout Completed — A payout is completed.
- Payout Failed — A payout fails.
Flip the switches you want, then click Save preferences. Changes apply to future events.
Webhook notifications#
Send real-time events to your own systems. Enter a Webhook URL and Hanko sends POST requests with event data (such as invoice payments and payout completions) to that endpoint. Use it to update a database or CRM, trigger internal workflows, or log activity.
Enter your endpoint (use HTTPS in production) in the Webhook URL field and click Save preferences.
Implement your endpoint to accept POST requests and respond with a 2xx status to acknowledge receipt.
Security
Validate incoming payloads and serve your endpoint over HTTPS. Never expose secrets in client-side code.
Per-org settings#
Notification settings are per organization, and only owners and admins can change them. Switch orgs to configure each one separately.